One of the easiest and most convenient ways to release your RoR API is through Azure web applications. If you have Azure ac and its repository it becomes flexible and convenient to deploy the application in not more than a minute.
This article deliberately talks about how to deploy Ruby on Rails Azure web application in a sure-shot way.
Moreover, we will also talk about how to deploy an API that is stored in a Bitbucket Repository.
So, let's get started!
The step-by-step procedure is as below,
1. Create the RoR web application
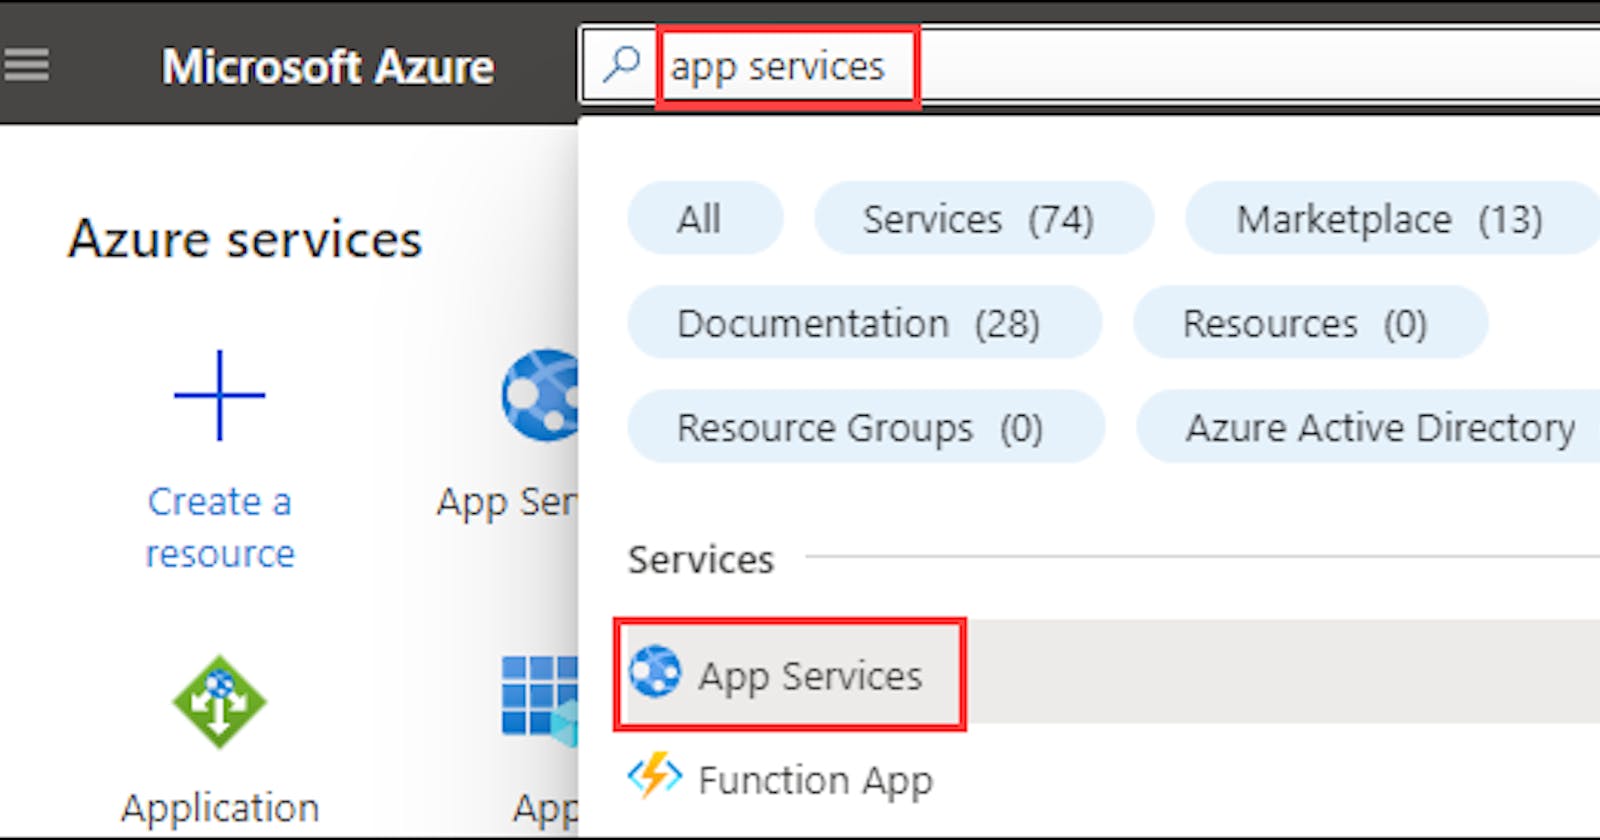
In order to create a new web app, you are required to go to the New option and search for the web app. With the help of the right panel, you will be able to create a new web application. After this step fills in the name of the application. Be wise with the name as this will be part of the URL of your app.
Afterward, choose other options as well like, App Service plan, Location, and pricing tier.

2. Associating the Repository
Click on the Deployment options on your web page option in order to integrate the repository with your application.
As a source, you can choose bitbucket. If you have already made a connection before you need to sign in with your existing bitbucket account here.

3. Sync your application.
After making all the necessary changes go under the Development Options and click on Sync to acquire the latest version of your application.

After synchronization, you can click on the status to see more about the steps to deploy your app. And on the details page, you can see the complete log. That’s it! To access your application, click on “Overview” to see the URL provided to your resource, and then click on the URL.

4. Overview
After the synchronization process completes you can click on the status in order to go through the next steps of deployment of your Ruby on Rails Azure application. And, yes there you go, all set with your Ruby on Rails Azure web application.
5. Performance Test
Another advantage to using Azure Web App is the ability to test an application with a load test without using any external service. To enable the test, click on “Performance Test” in the left panel. Then, click on “New” to configure a new test.

One of the prominent advantages of using the Azure web application is its ability to initiate load tests without any external service. In order to enable the testing just go to the left panel and click on the Performance Test and go for “New” to configure the new test.
The process is quite simple yet if you don't follow the precise steps the desired results cant be acquired in one go. If you want a professional to work on your ruby on rails azure web application then hire an experienced and expert Ruby on Rails Developer for your project and take it to the next level!
